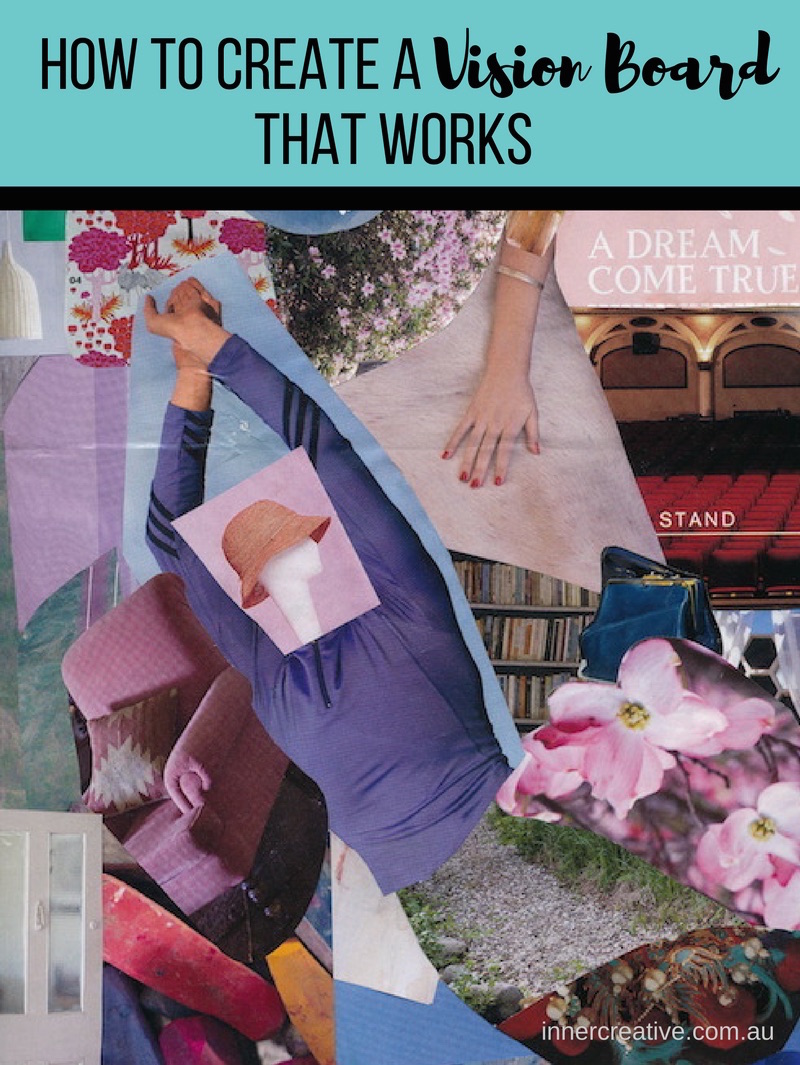
Have you heard of making a vision board before?
If you’re looking for instructions on how to create a vision board where you slap a picture of a car onto a piece of paper, hang it onto your wall, and then cross yourfingers that this car will magically drive into your driveway the next day, then this this blog is not for you.
- claim what you want from life or business
- shape your direction and goals
- smile and make your heart sing
- fuel your motivation and remind you of where you want to go.
I take a ‘hands on’ crafting approach to vision boarding. There are also many online visual options that you can use instead.
It’s not very complicated. Although over the last 20 years that I’ve created them, I have learnt a few tips and tricks to ensure that the final vision board works. That is, it will resonate with you and reflect what you truly want. I can’t guarantee 100% what will manifest. That’s your work. However, I can give you a good head start :-).
There are three basic stages to making a vision board:
- Preparation – collecting your materials, setting the scene, and getting into the right head and heart space
- Creation – picking your images, and then arranging and sticking them onto a board
- Activation – how to ground your big vision and translate it into action (ie. move it from ‘woo hoo’ to real life)
In this blog, I’ll take you through the first Preparation Stage.
“But wait a minute, I just want to get out my magazines and start cutting and pasting!!”
I realise that you might want to get into the creating part right now. But I have learnt the hard way that making sure you’re prepared and have the right magazines for you, full of images that you love, makes vision boarding so much easier, more fun and rewarding.
And more importantly, if you’re not in the right headspace or heart-space – if you’re feeling a little antsy, distracted, hopeless, frustrated, or feeling any form of lack – you will not get a good result. Trust me. I had one particular flop where I rushed in grasping for an answer to end up feeling even more frustrated with what I got in the end.
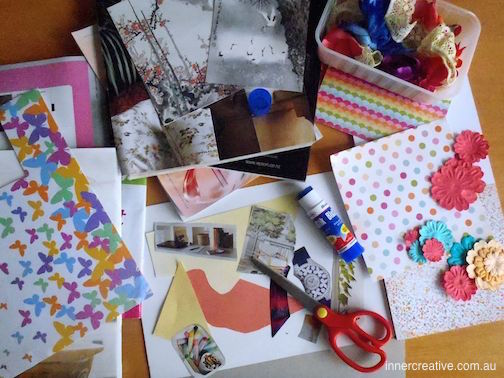
So the first thing is to collect your materials.
To create a vision board you need:
- a backing board (piece of cardboard, pin-board or frame)
- magazines and other coloured papers, postcards, pictures and embellishments
- scissors
- glue (paste or spray) or pins
Vision board backing size
The back of your vision board can be made of anything flat, and preferably sturdy. I usually use a piece of card board, so that I can display or transport it anywhere I like. But you can pin your images to a cork board or onto the insert of a picture frame if that takes your fancy.
You can make your vision board any size that you want. One of my early marathon vision boarding attempts ended up being on 6 sheets of A4 sized paper taped together. I’ve also made one on the back of a postcard. Below you can see a selection of the various sizes of vision boards I’ve made in the past.
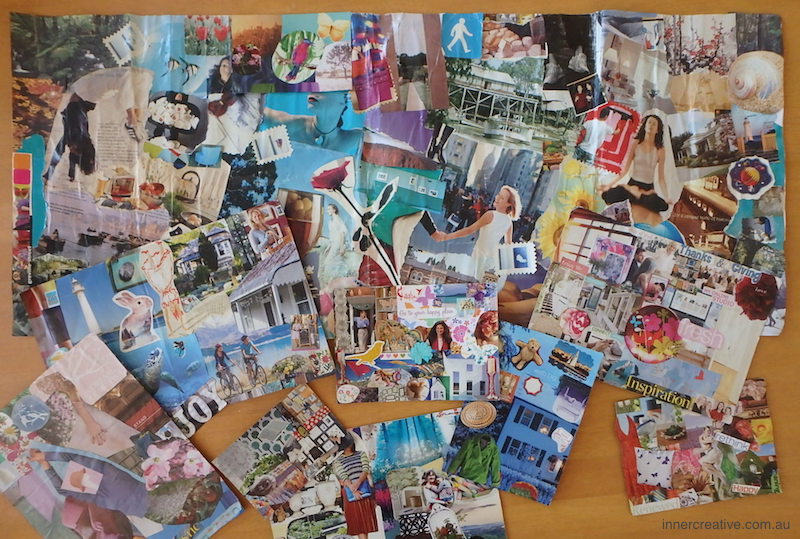
Nowadays, I usually stick to an A4 sheet of cardboard. At this size, it’s easier to find a piece of cardboard that size (e.g. I collect old notebook covers), as well as display the final product. I like the extra creativity boost that setting a size limit brings.
The size of your backing board affects the amount of time you spend creating your vision board. I can finish a postcard A6 sized vision board within 20 minutes. An A4 sized board can take up to an hour if not more (depending on how long you spend picking your images).
Picking the right magazine for you
You can make a vision board with just one good magazine. When I create a vision board, I often like to have around 3 magazines to pick my images from. (Although I must admit to a sizeable magazine collection 🙂 ).
The magazines don’t need to be recent, new or expensive I often collect promotional and club magazines that come in my letter box. Or ask for old magazine copies that friends are about to throw out. But making a vision board can be a great excuse to head down to your local newsagent to treat yourself with a few new mags :-).
The key is to make sure that the magazines you pick have lots of pictures in them that make you ‘ooh’ and ‘ahh’. So choose magazines that reflect your interests, whether it be travel, interior design, business, nature, crafts, cooking, or fashion. Photography magazines can be expensive, but have some wonderful photos on lots of different topics. I also like O Magazine or Collective Hub for a good range of general or business related images.
If you follow your interests, then you can’t really go wrong. I only tend to stay clear of ‘weeklies’ full of celebrity shots or sale catalogues. These images can put us into a comparison or judging headspace, rather than make us feel good about who we really are. They can also propel us into ‘should’ thinking. We might unintentionally pick images of things or experiences that we ‘should’ want, rather than what we really want deep down in our hearts.
Setting the scene
Before starting your vision board, it’s important to be in the right frame of mind.
Turn off any phones or distractions. And give yourself permission to spend at least 20 minutes, up to an hour, of uninterrupted time on your vision board.
Create an inviting and relaxing environment. You can create your vision board standing or seated at a table, or on a floor. You can be inside or out. I’ve even taken my magazines and other bits and bobs to a local cafe. You could also light a candle, put on some relaxing music in the background, or pour a beverage of your choice.
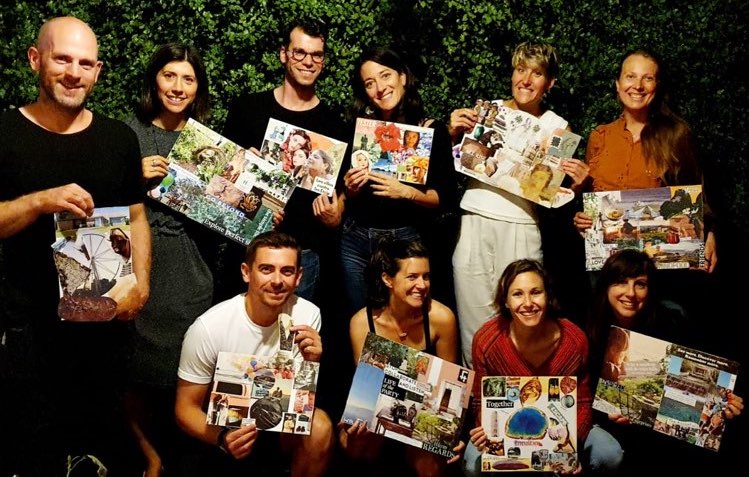
And you don’t need to be alone. Make use of that collective positive energy. Gather a group of like-minded friends or colleagues, or have your fur baby nearby.
Getting into the right head and heart space
Do what you need to make sure that you are feeling present and focused on the task ahead. Perhaps take a few deep breaths and pause before starting. Let yourself arrive both physically and mentally wherever you are (rather than be distracted by other thoughts or a running ‘to do’ list).
If you are using the vision board to set your goals and direction at the start of the year or the end of another milestone, then this is also a nice time to reflect on the past – what you’ve learnt, what you’re proud of and grateful for. Use the Stop, Start and Continue tool for a quick review, or sign up for a free Reflections workbook to take more time processing the past before moving forward.
Whether or not you do a formal reflection process, make sure to start creating your vision board from a place of gratitude. As I mentioned previously, if you’re feeling out of sorts or any form of lack, then you won’t fully harness your intuition or create a vision board from the right heart space. You’ll end up selecting images based on fear rather than what brings you joy.
You can get into a gratitude space by:
- thinking of at least things/experiences/people/places that you’re truly grateful for during the previous year, that day or other time-period
- jotting down on paper what you’re thankful or answering prompts, like ‘What’s made you smile? What have you learnt?’
- or engage both sides of your brain by filling out a ‘word mandala’* in the Reflections workbook using words and/or pictures about what you’re grateful for.
Once you’re feeling relaxed and hopefully happier, then you’re ready to start selecting your images for your vision board.
If you’d like some support to create your own board, check out Inner Creative’s latest Vision Boarding Workshops on offer.
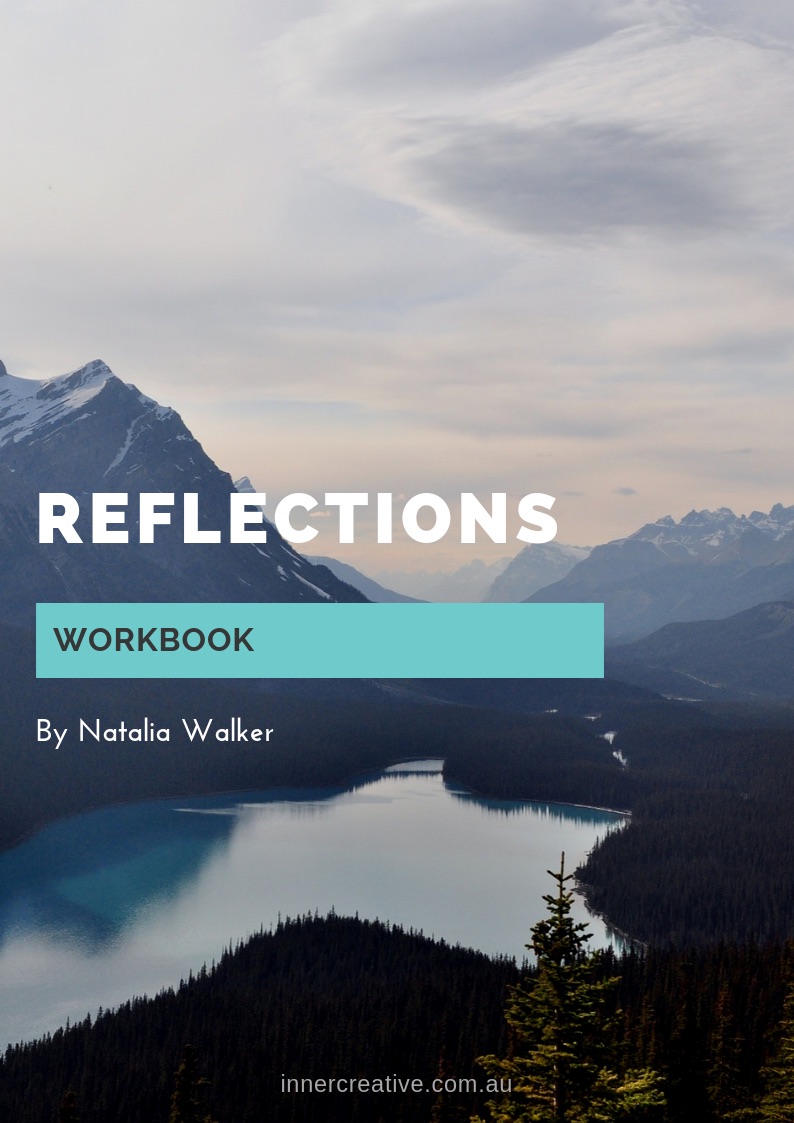
Sign up to the Visioning Inspiration Mailing List to receive the free Reflections Workbook (pictured on the left), creativity tips, and news on any upcoming Inner Creative Vision Board Workshops.
Please post any questions or comments below. I’d love to know what magazines you like using in your vision boards.